How to Prepare Your Vehicle for Long-Term Durability with Ceramic Coating in Roseville in Ceramic Coating Roseville, CA
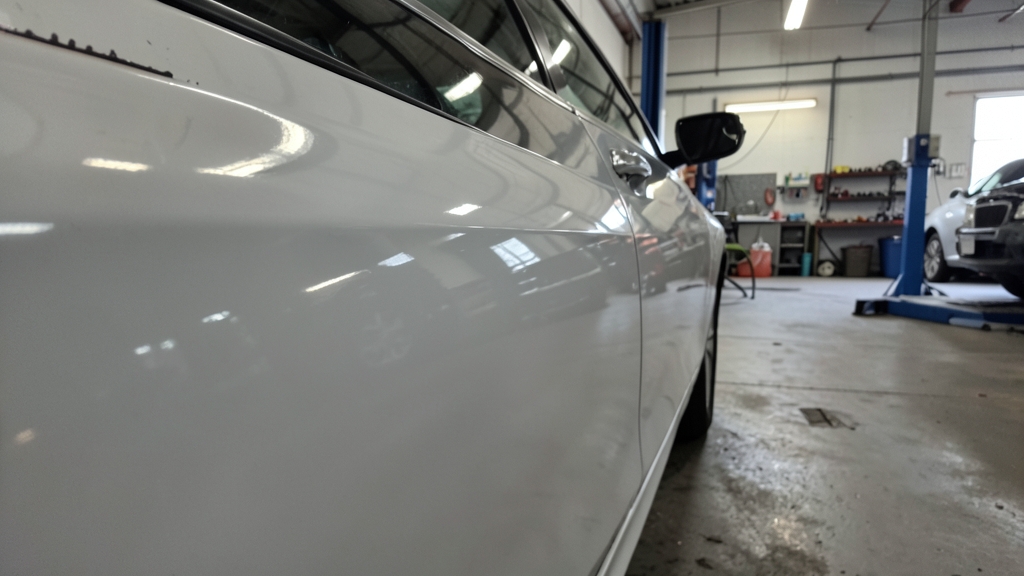
Ceramic coatings deliver unmatched gloss and protection, but only if your vehicle’s surface is prepped correctly. In Roseville’s hot, dusty climate, proper preparation prevents premature failure and ensures years of hydrophobic performance. We’ll walk you through the critical steps to ready your car for a flawless application.
Why Preparation Is Non-Negotiable for Ceramic Coating Success
A ceramic coating bonds permanently to your clear coat, so any imperfections—swirls, scratches, or embedded contaminants—get locked in forever.
Unlike wax or sealants, ceramics can’t hide flaws. Our team sees vehicles from Rocklin and Granite Bay arrive with oxidation or water spots that require correction before coating. Preparation isn’t optional; it’s the foundation of durability.
Some shops skip paint correction to cut costs. The result? A glossy but flawed finish that amplifies defects under direct light.
Step 1: Deep Cleaning and Decontamination
Start with a thorough two-bucket wash using pH-neutral shampoo to remove loose dirt. Then, use a clay bar or synthetic clay mitt to pull embedded contaminants like tar, rail dust, or industrial fallout from the paint.
Roseville’s proximity to highways and agricultural areas means vehicles often carry iron particles and sap. A iron-remover spray helps dissolve these before claying. Finish with a final rinse and blow-dry to inspect the surface under bright light.
Step 2: Paint Correction to Remove Defects
Paint correction involves machine polishing to eliminate swirl marks, light scratches, and oxidation. This step restores clarity and ensures the coating adheres to a smooth, reflective surface.
In our experience, vehicles from Citrus Heights and Antelope often show sun damage due to the region’s high UV index. Compound and polish combinations vary by paint hardness—softer Japanese clear coats need gentler approaches than harder European finishes.
| Defect | Cause | Correction Method |
|---|---|---|
| Swirl Marks | Improper washing or drying | Light polishing with fine abrasives |
| Water Spots | Mineral deposits from hard water | Compound polishing or spot treatment |
| Oxidation | UV exposure over time | Heavy-cut compound followed by refining polish |
| Scratches | Contact with debris or keys | Wet-sanding (deep) or polishing (light) |
Step 3: Surface Refinement and Final Inspection
After correction, inspect the paint under halogen or LED lights to catch any missed defects. Use a paint thickness gauge to ensure you haven’t removed too much clear coat—critical for long-term integrity.
A final wipe-down with isopropyl alcohol or a dedicated prep spray removes any remaining oils or polish residues, ensuring a clean surface for the coating to chemically bond with.
Dark-colored cars show imperfections more readily. Use a high-intensity light source at multiple angles to spot hidden swirls or holograms.
Ceramic Coating vs. Paint Protection Film: When to Choose What
Ceramic coatings excel at enhancing gloss, hydrophobic properties, and UV resistance. They’re ideal for daily drivers in Roseville looking for low-maintenance protection against bird droppings, tree sap, and light scratches.
Paint Protection Film (PPF) offers physical defense against rock chips, deep scratches, and self-healing properties. Many Lincoln and Granite Bay clients combine both: PPF on high-impact areas (hood, bumper) and ceramic coating over the entire vehicle for a layered defense.
Local Considerations for Roseville and Surrounding Areas
Roseville’s climate—hot summers, cold winters, and frequent dust storms—demands a coating with strong UV inhibitors and self-cleaning properties. Ceramics with high silica content perform best here, repelling water and dirt to reduce washing frequency.
For fleet or commercial vehicles in Antelope or Rocklin, consider ceramic coatings with added anti-graffiti or chemical resistance. These formulations withstand frequent cleaning and harsh detergents without degrading.
Climate-Specific Coating Traits to Prioritize
- High UV resistance (400+ nm protection)
- Hydrophobic angle >110° for self-cleaning
- Thermal stability (resists yellowing in heat)
- Anti-static properties to repel dust
Beyond the Paint: Coating Wheels, Calipers, and Glass
Ceramic coatings aren’t just for paint. Wheels and brake calipers benefit from high-temp ceramics that resist brake dust and corrosion. In Roseville, where brake dust buildup is common, this reduces cleaning time dramatically.
Ceramic window tinting adds UV protection and heat rejection, a must for Sacramento Valley summers. Interior ceramic protection for dashboards and leather prevents cracking and fading from prolonged sun exposure.
Maintenance After Ceramic Coating Application
Even with a ceramic coating, regular maintenance extends its life. Wash your vehicle every two weeks with a pH-neutral shampoo and use a microfiber towel to dry. Avoid automatic car washes with harsh brushes—they can prematurely wear the coating.
For vehicles in dusty areas like Lincoln, a quick rinse with the two-bucket method removes abrasive particles before they scratch the surface. Reapply a ceramic boost spray every 6–12 months to refresh hydrophobic properties.
How to Prepare Your Car for Ceramic Coating at Home
While professional prep is ideal, DIYers can tackle the basics with the right tools and patience.
- 1Wash Thoroughly
Use the two-bucket method with grit guards and a high-quality car shampoo. Dry with a clean microfiber towel to avoid marring.
- 2Decontaminate with Clay
Lubricate the surface with detailer spray and glide a clay bar over the paint to remove embedded contaminants. Re-wash afterward.
- 3Inspect for Defects
Under bright light, check for swirls, scratches, or water spots. Mark problem areas with painter’s tape for targeted correction.
- 4Polish Problem Areas
Use a dual-action polisher with a fine abrasive compound to remove light defects. Follow with a refining polish for a mirror finish.
- 5Final Clean and Prep
Wipe down the surface with isopropyl alcohol or a dedicated prep solution to remove any remaining oils or residues.
Frequently Asked Questions
How long does paint correction take before ceramic coating in Roseville?
The time varies based on the vehicle’s condition. A light correction for minor swirls may take 4–6 hours, while heavy oxidation or deep scratches can require 8–12 hours. We always inspect the paint first to tailor the process.
Can I apply ceramic coating over existing wax or sealant?
No. Wax or sealant must be fully removed before coating, as they prevent proper bonding. Use a dedicated prep spray or isopropyl alcohol to strip these products completely.
Is ceramic coating worth it for older vehicles in Roseville?
Absolutely, if the paint is in decent condition. Ceramic coatings can rejuvenate older vehicles by adding gloss and protection. However, severe peeling or clear coat failure may require repainting before coating.
What’s the difference between professional and DIY ceramic coating prep?
Professionals use industrial-grade polishers, paint thickness gauges, and controlled environments to ensure flawless results. DIY prep often misses hidden defects or leaves residues, risking coating failure.
Does ceramic coating protect against rock chips in Roseville?
Ceramic coatings add a hard layer but won’t stop rock chips. For full protection, combine a coating with Paint Protection Film (PPF) on high-impact areas like the hood and bumper.
How do I know if my car needs paint correction before ceramic coating?
Run your hand over the paint after washing. If you feel roughness, swirls, or see dull spots under light, correction is needed. A professional inspection in Roseville can confirm the extent of work required.